Creating a Flow
Once you have created a project you’ll be prompted to create a flow.
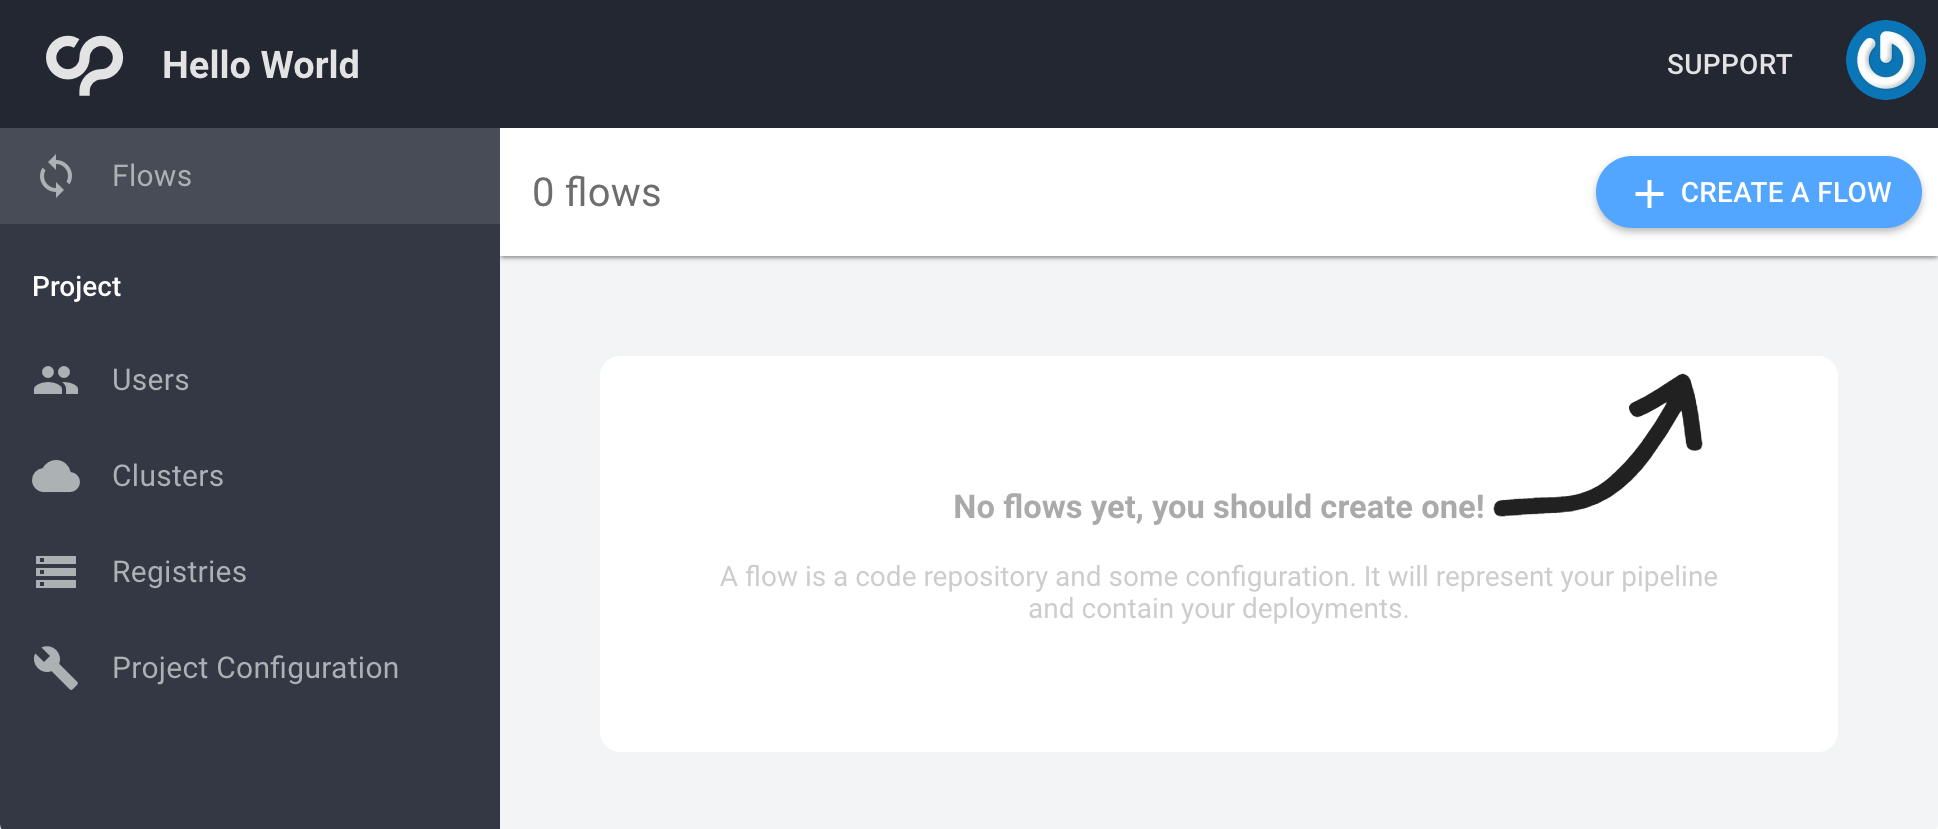
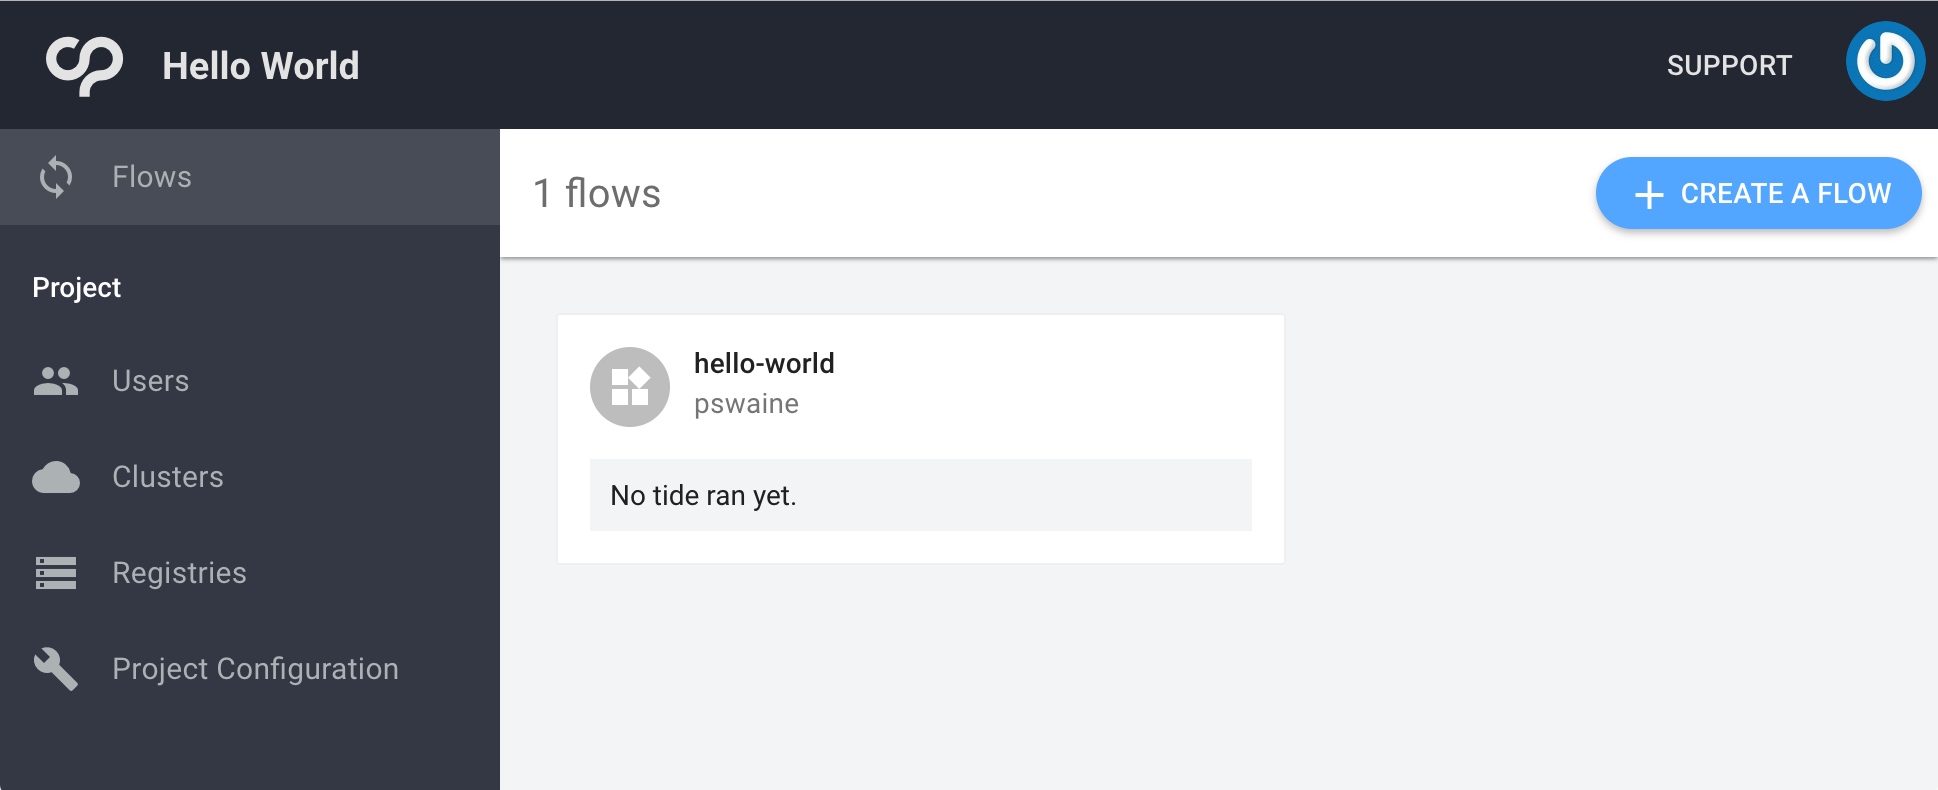
To create a flow, just click the “CREATE A FLOW” button in the top right of the interface.
The first time you attempt to create a flow you will see a message informing you that you don’t have a linked repository account.
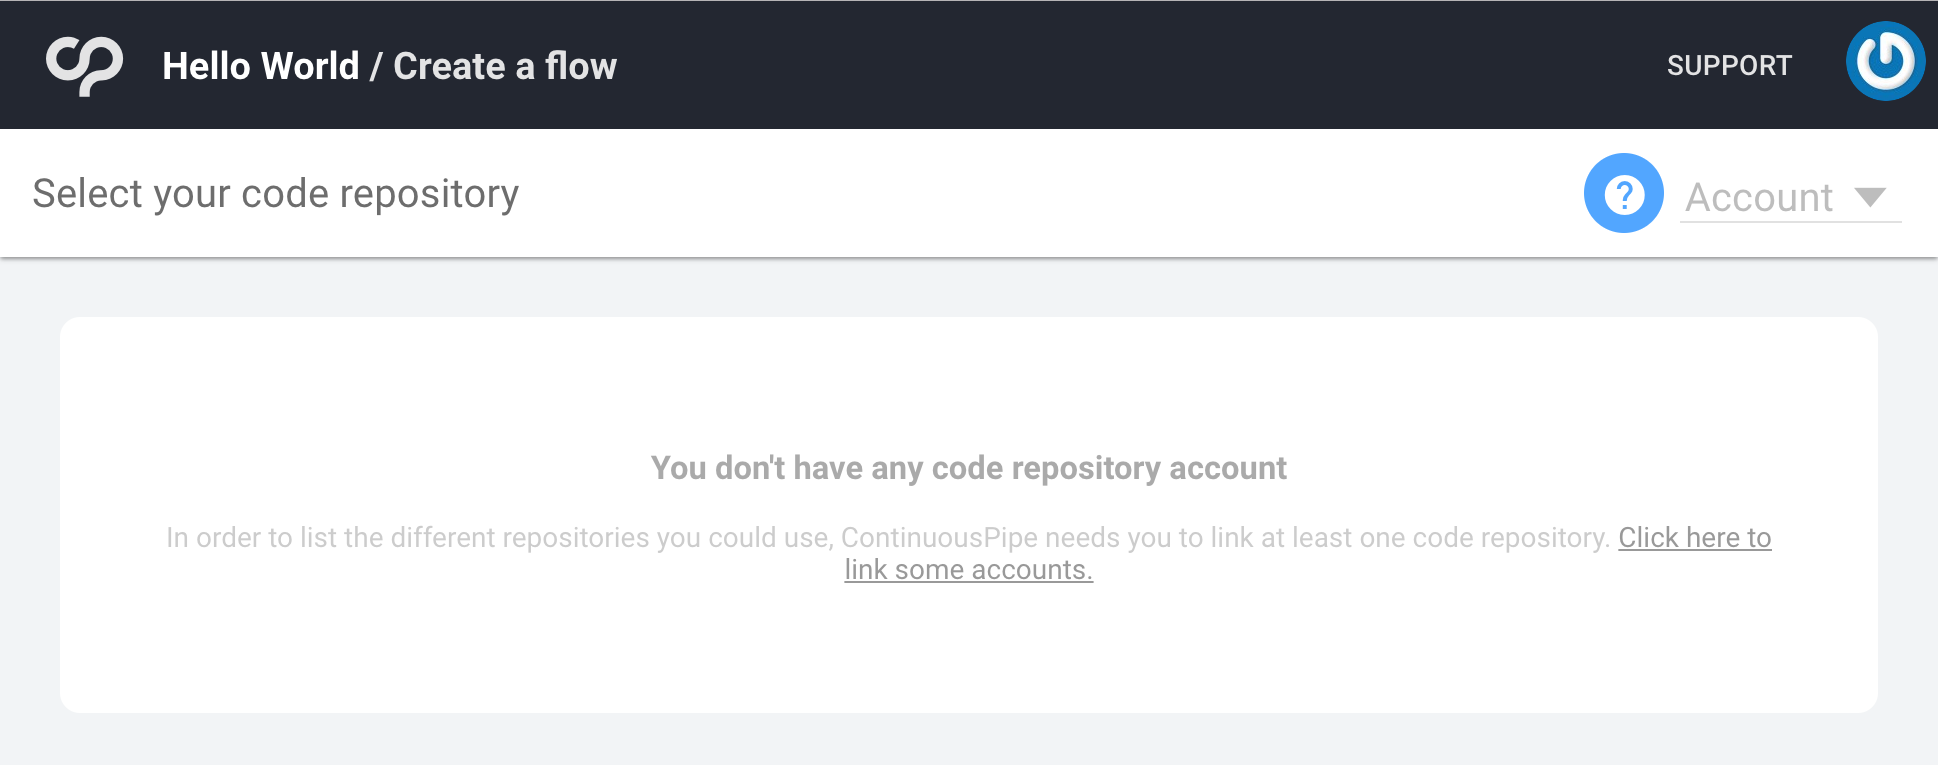
To solve this, either click on the link provided in the page or navigate to the account section using the menu in the top right of the header. Within the account section you will see the option to connect to a repository under the “Connected accounts” heading.
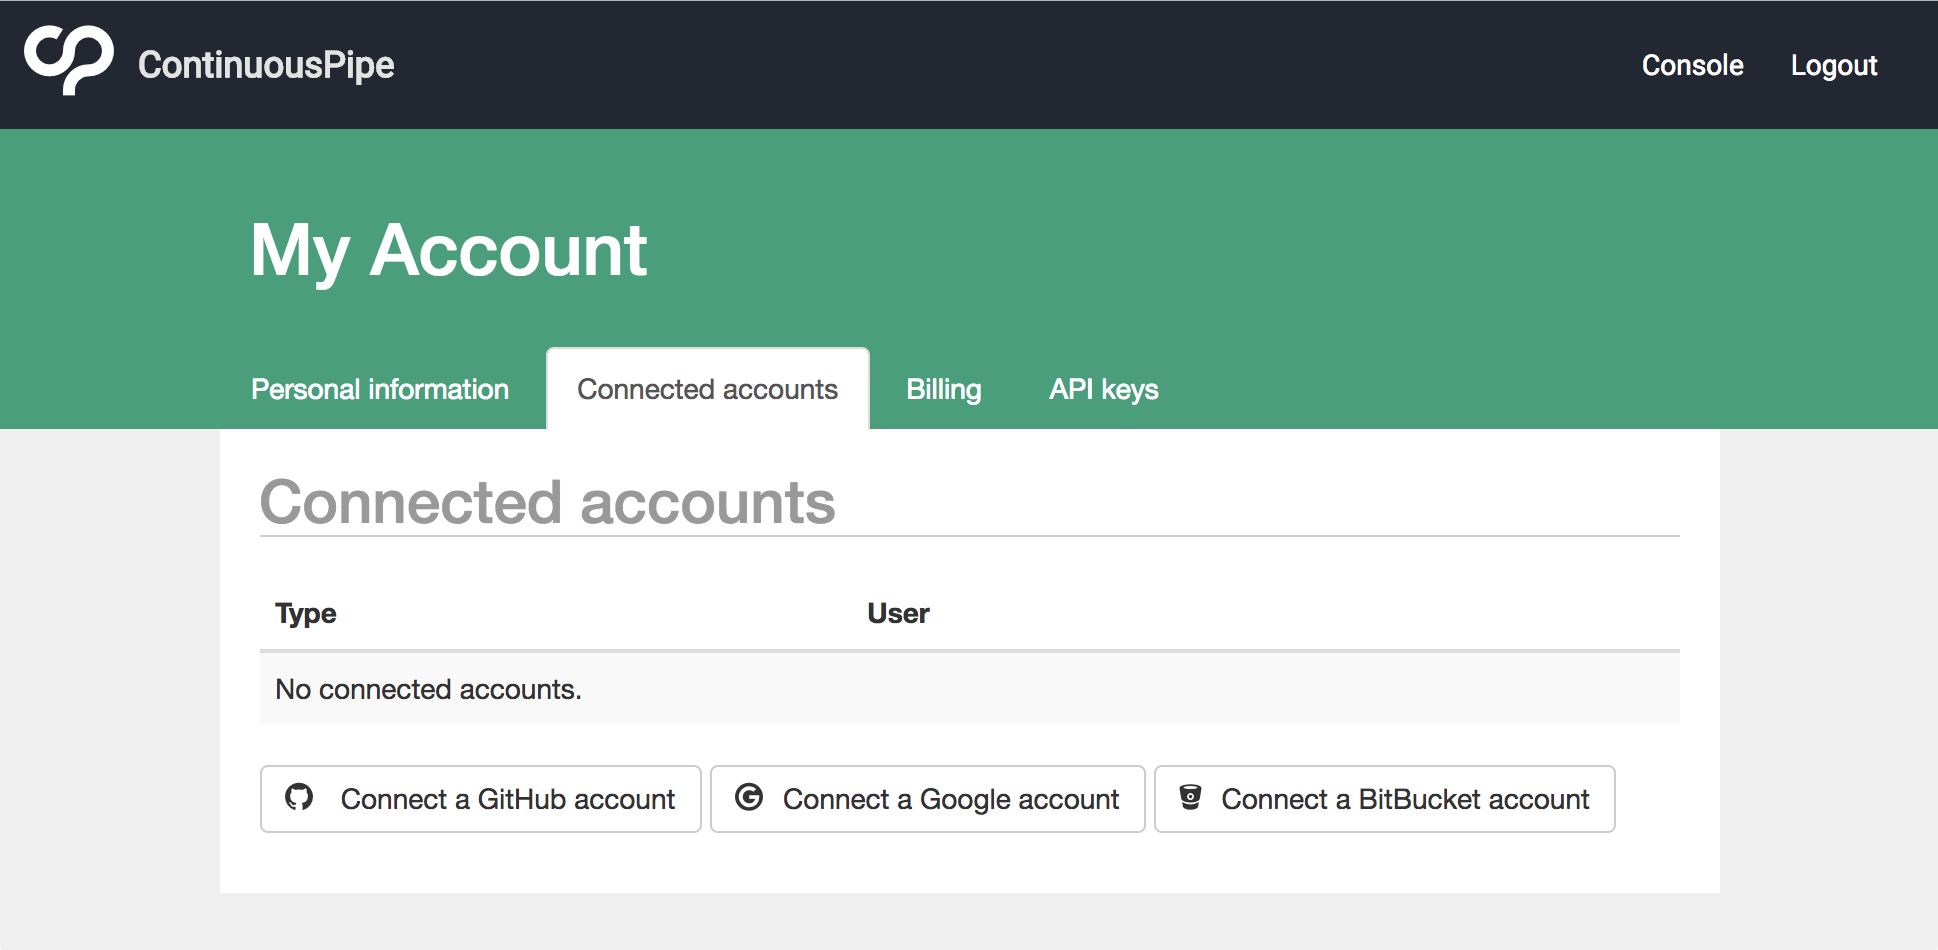
Currently you can choose from the following accounts to connect:
- Github - A code repository account
- Bitbucket - A code repository account
- Google - A Kubernetes cluster account
Each of these options will forward you to the respective provider to sign in and then grant permissions to ContinuousPipe. You will need to give ContinuousPipe access to at least one code repository account to continue setting up a flow.
Once permissions have been granted you will be returned to ContinuousPipe. You’ll need to reselect the project, then click “CREATE A FLOW” again. This time you will be able to choose a repository from the associated repository account.
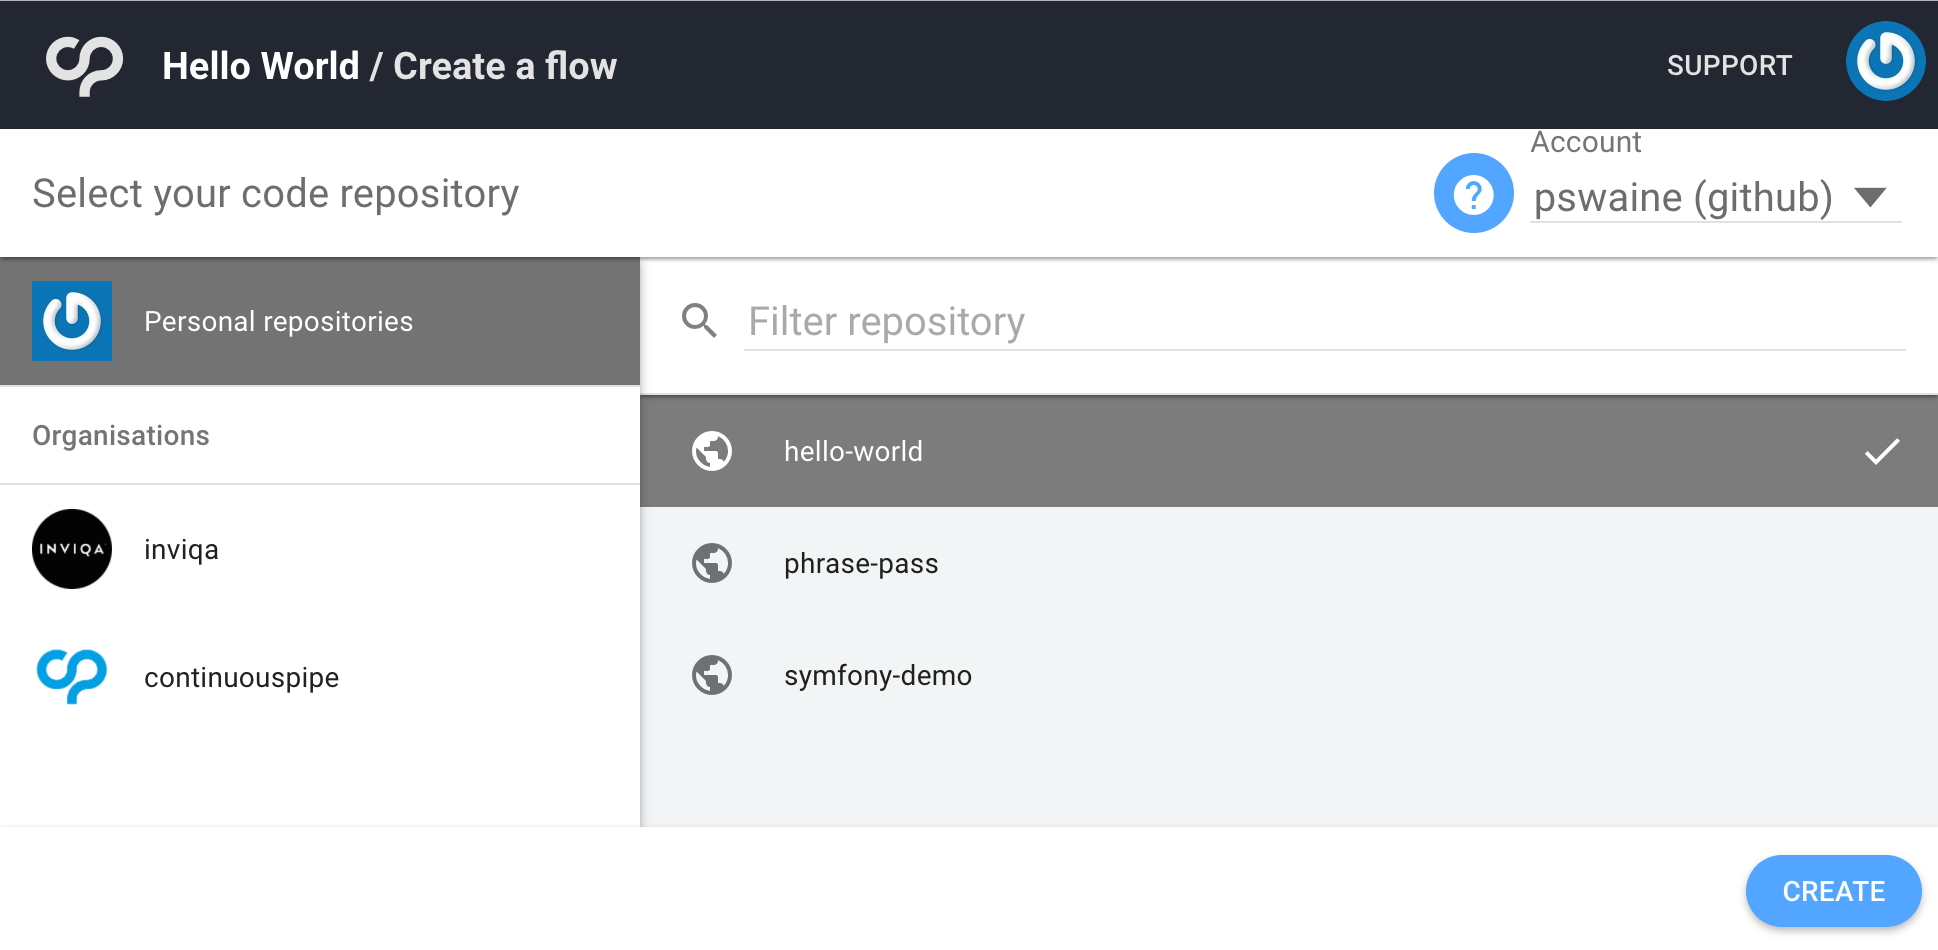
By default your personal repositories from the linked account are displayed. If the linked account is a member of an Organisation these are also visible below. Clicking on each respective Organisation will load a list of available repositories.
Once you have selected your repository, click “CREATE” to finish creating the flow.