Getting Started with Symfony
Introduction
This is a guide to getting a Symfony application running on ContinuousPipe with a remote development environment. The code samples used in the guide can be seen at https://github.com/continuouspipe/demo-symfony.
Recorded video
We’ve recorded a getting started with ContinuousPipe video that uses a Symfony application as a demonstration, you may also want to have a look.
Prerequisites
Before getting started you will need the following:
- A GitHub or Bitbucket account to host your Symfony project
- A ContinuousPipe account
- A Kubernetes cluster e.g. AWS, GCE or Azure
- A Docker Registry account e.g. docker.io or quay.io
Setting Up Symfony
Installing Symfony
Use the Symfony installer tool to create a new Symfony application locally:
symfony new demo-symfony #replace demo-symfony with your project name
Check everything is working so far using the local webserver:
cd demo-symfony
bin/console server:run
Connecting to the GitHub Repository
Note
This series of steps are needed because the Symfony installer will not install Symfony into an existing directory, so cloning the repository first does not work.
Create a local git repository:
git init
Commit the initial installation:
git add . && git commit -m "Initial installation of Symfony"
Add a GitHub repository as a remote:
git remote add origin git@github.com:continuouspipe/demo-symfony.git
#replacing the organisation and repository with your repository
Integrating Symfony with ContinuousPipe
Adding Docker Configuration Files
Add a Dockerfile to the project root with the following content:
Dockerfile
FROM quay.io/continuouspipe/symfony-php7.1-nginx:v1.0
ARG GITHUB_TOKEN=
ARG SYMFONY_ENV=prod
ENV SYMFONY_ENV $SYMFONY_ENV
COPY . /app
RUN container build
The Dockerfile is used to specify how the Docker image is built. It is based on a prebuilt image created specifically for Symfony running on nginx. This is one of several ContinuousPipe images that can be found at https://github.com/continuouspipe/dockerfiles. The README for the prebuilt image lists the arguments that can be passed when it is initialised, including the SYMFONY_ENV environment variable. The repository project code is copied onto the image and a script is run which will do things like install the vendors with composer. Read more about Dockerfiles.
Add the following docker compose configuration in a docker-compose.yml file in the project root.
docker-compose.yml
version: "2"
services:
  web:
      build: .
      expose:
          - 80
          - 443
      ports:
          - "8080:80"
          - "443:443"
      volumes:
          - .:/app
ContinuousPipe uses the docker-compose.yml configuration to know how to build and configure the services that it deploys. Here only a single web service is used as adding other services such as a database is left out at this stage. The configuration for the web service specifies the following:
- That the service is created from an image built from a Dockerfile in the same directory (build: .)
- Which ports to expose
- What the project directory is mounted as a volume at /app
Note
Mounting the volume is not needed for ContinuousPipe but does allow us to run the service locally using docker-compose and be able to make change to the project source code and see the changes.
Adding ContinuousPipe Configuration File
Add a continuous-pipe.yml file to the project root with a basic configuration of:
continuous-pipe.yml
tasks:
  images:
      build:
          services:
              web:
                  image: ${IMAGE_NAME}
                  naming_strategy: sha1
  deployment:
      deploy:
          cluster: ${CLUSTER}
          environment:
              name: '"sfdemo-" ~ code_reference.branch'
          services:
              web:
                  specification:
                      accessibility:
                          from_external: true
This configures two tasks for ContinuousPipe to run when a tide is triggered by code being pushed to the GitHub repository.
The first task, called images, builds a Docker image for the web service based on the matching configuration for the web service in the docker-compose.yml file. The built image will include the repository contents in the commit that triggered the build (because of the instructions in the Dockerfile in the previous step). Once the image is built ContinuousPipe will push it to an image registry configured using the IMAGE_NAME variable (setting this variable is explained later).
The second task, called deployment, deploys the service to a cluster set with the CLUSTER variable (setting this variable is explained later). The environment name used to refer to the deployment is made consistent by combining “sfdemo-” with the name of the branch that triggered the process. Then the web service is deployed - it needs to be accessible directly from a browser so from_external has been set to “true”.
The ContinousPipe documentation has more information about tasks.
Configuring the ContinuousPipe Console
Before we can push any code to our repository, we need to ensure that the ContinuousPipe console is properly configured. Please refer to the ContinuousPipe Quick Start guide to setup your project, cluster, registry and create your first flow.
Adding Variables to the ContinuousPipe Console
When creating the continuous-pipe.yml above an IMAGE_NAME and CLUSTER variable were used. These can now be added in the configuration section of the new flow within the ContinuousPipe console. This is explained in configuring a flow.
The CLUSTER value you need can be found in the “Clusters” tab of the project. If you manually entered the Kubernetes cluster details you will have set the value yourself. If you used a Google linked account the value will have been set when setting up the Google Container Engine.
The IMAGE_NAME value is the path where the Docker image should be pushed to. This needs to be the full name, including the Docker repo and account e.g. docker.io/continuouspipe/demo-symfony. If you don’t yet have a Docker repo nor do you know how to create one, please refer to the Docker Hub repositories documentation.
Note
The variables can also have their values provided in the continuous-pipe.yml file as is done below for the symfony environment. Keeping them out of the file and in the ContinuousPipe console allows you to keep them out of your code repository.
Initiating a Tide
Commit any changes if not already done and push them to your code repository. You should be able to see that a tide was triggered on the overview or tides pages for the flow on https://your-ui.example.com.
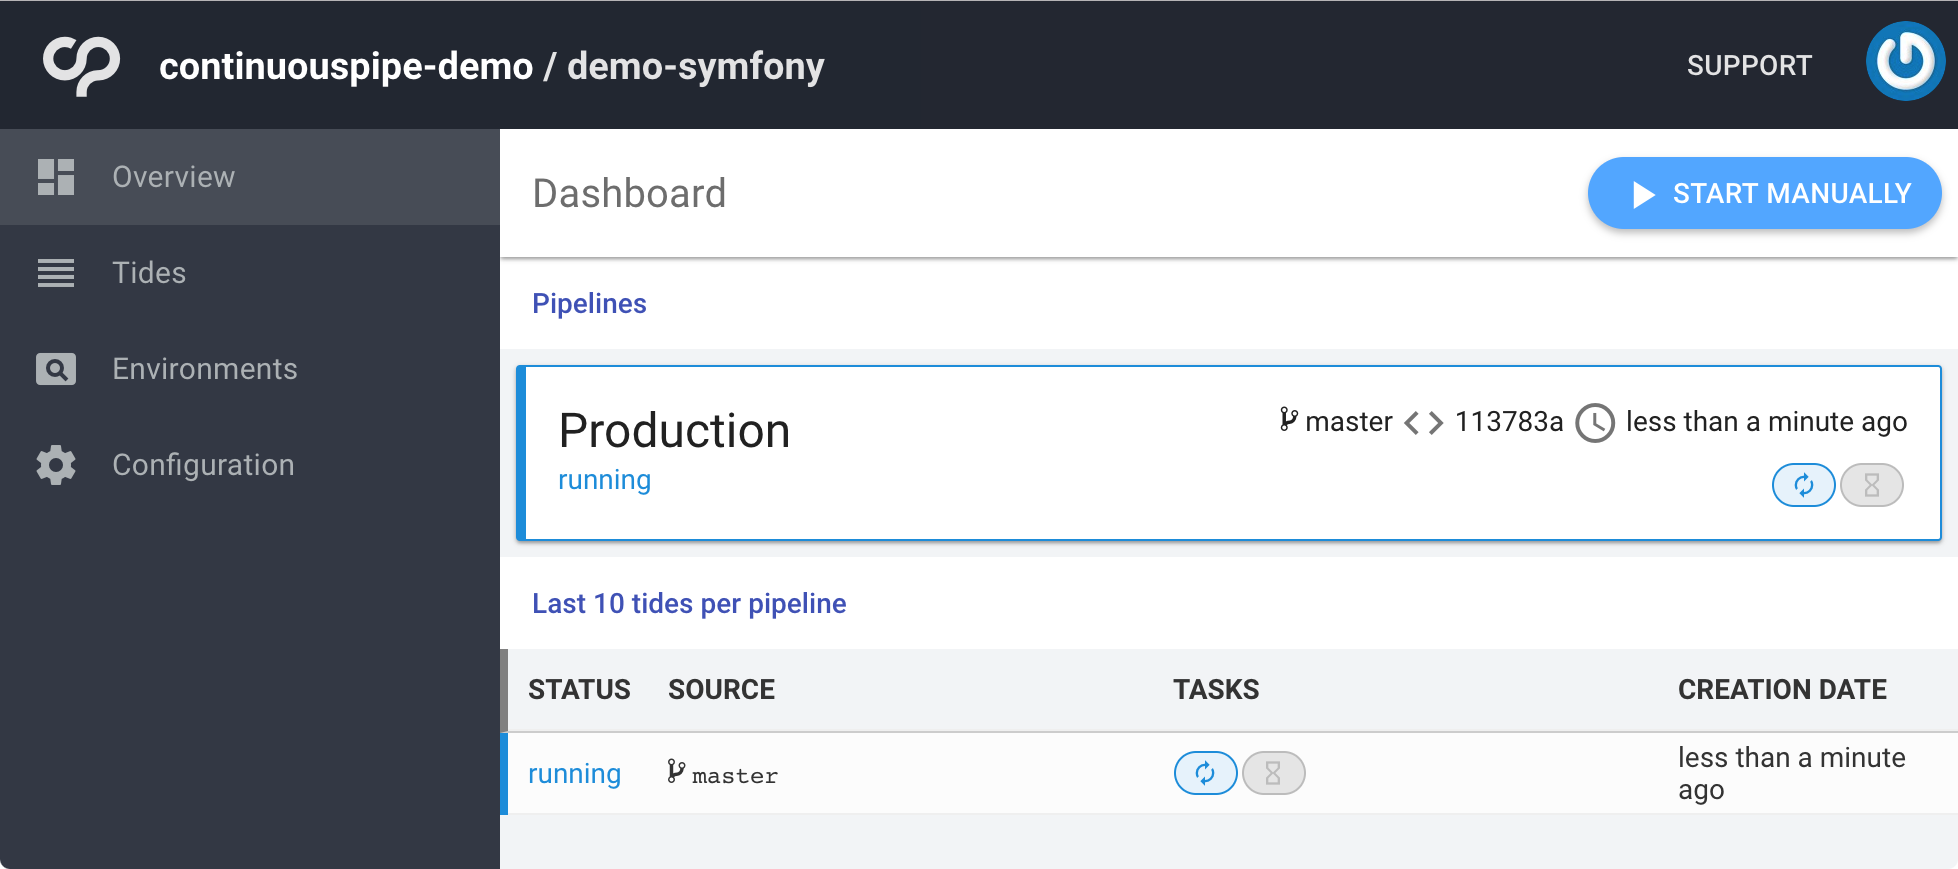
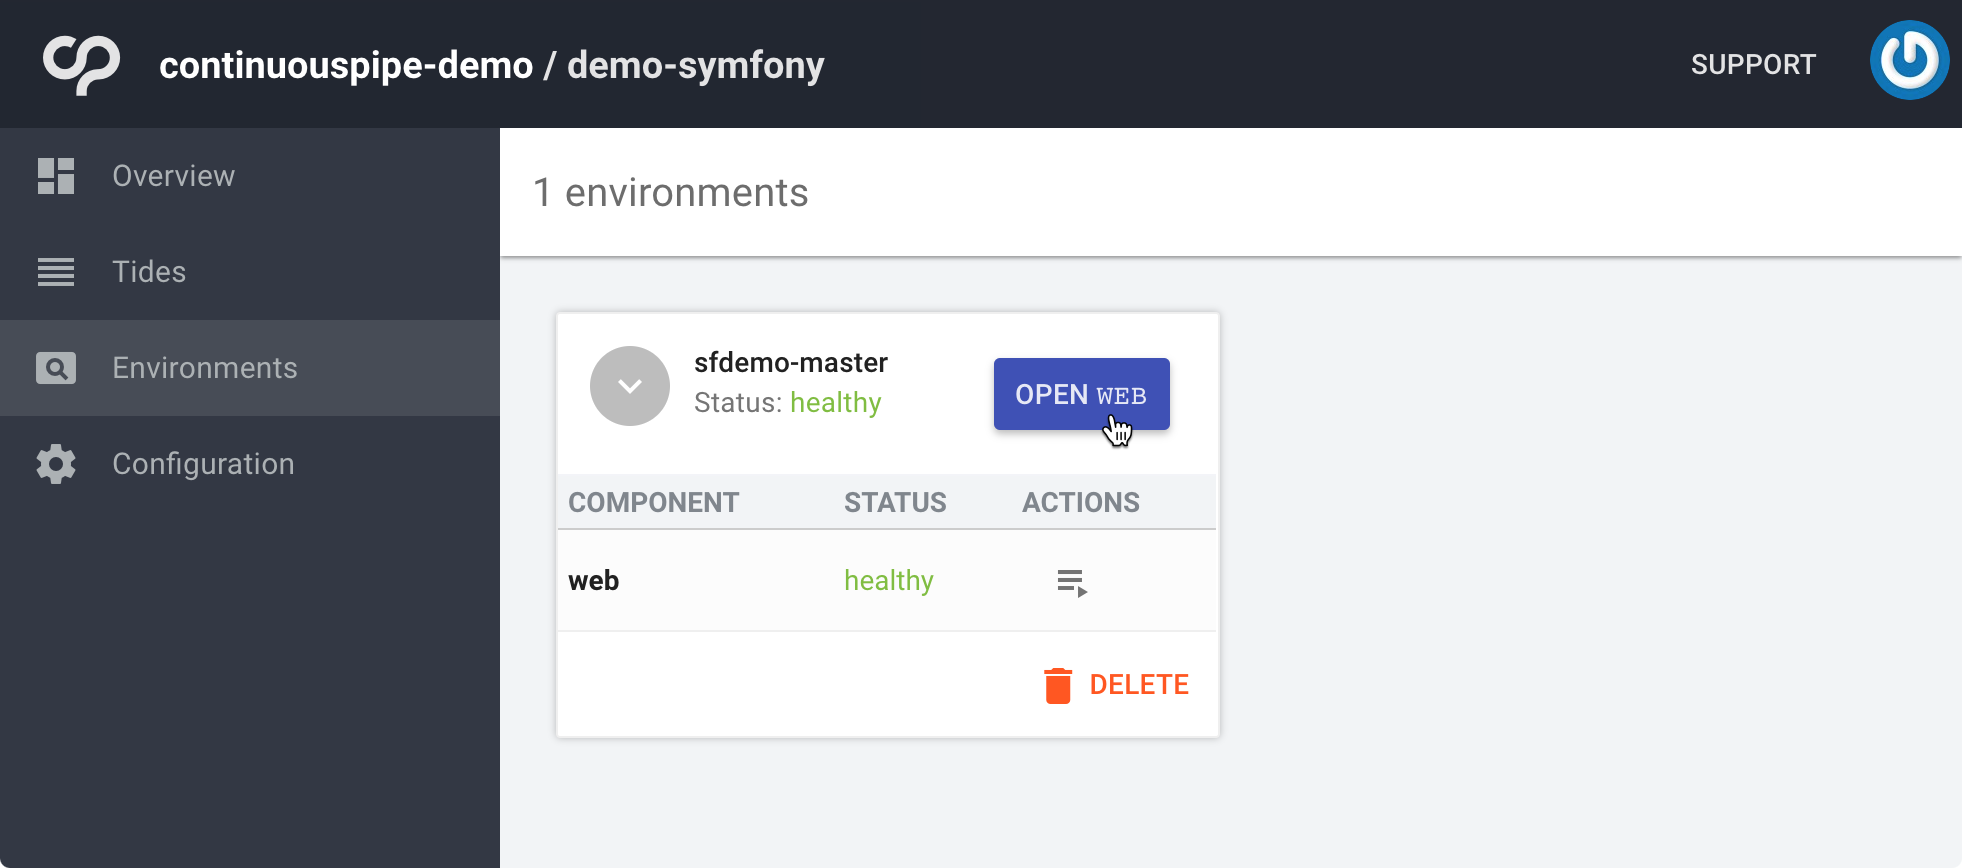
Clicking on the status will show more details of the build progressing. Some steps, particularly building the image and pushing it to the registry, may take a while to complete. Once it has completed running successfully you can view the environment and from there open the web service and see the running application:
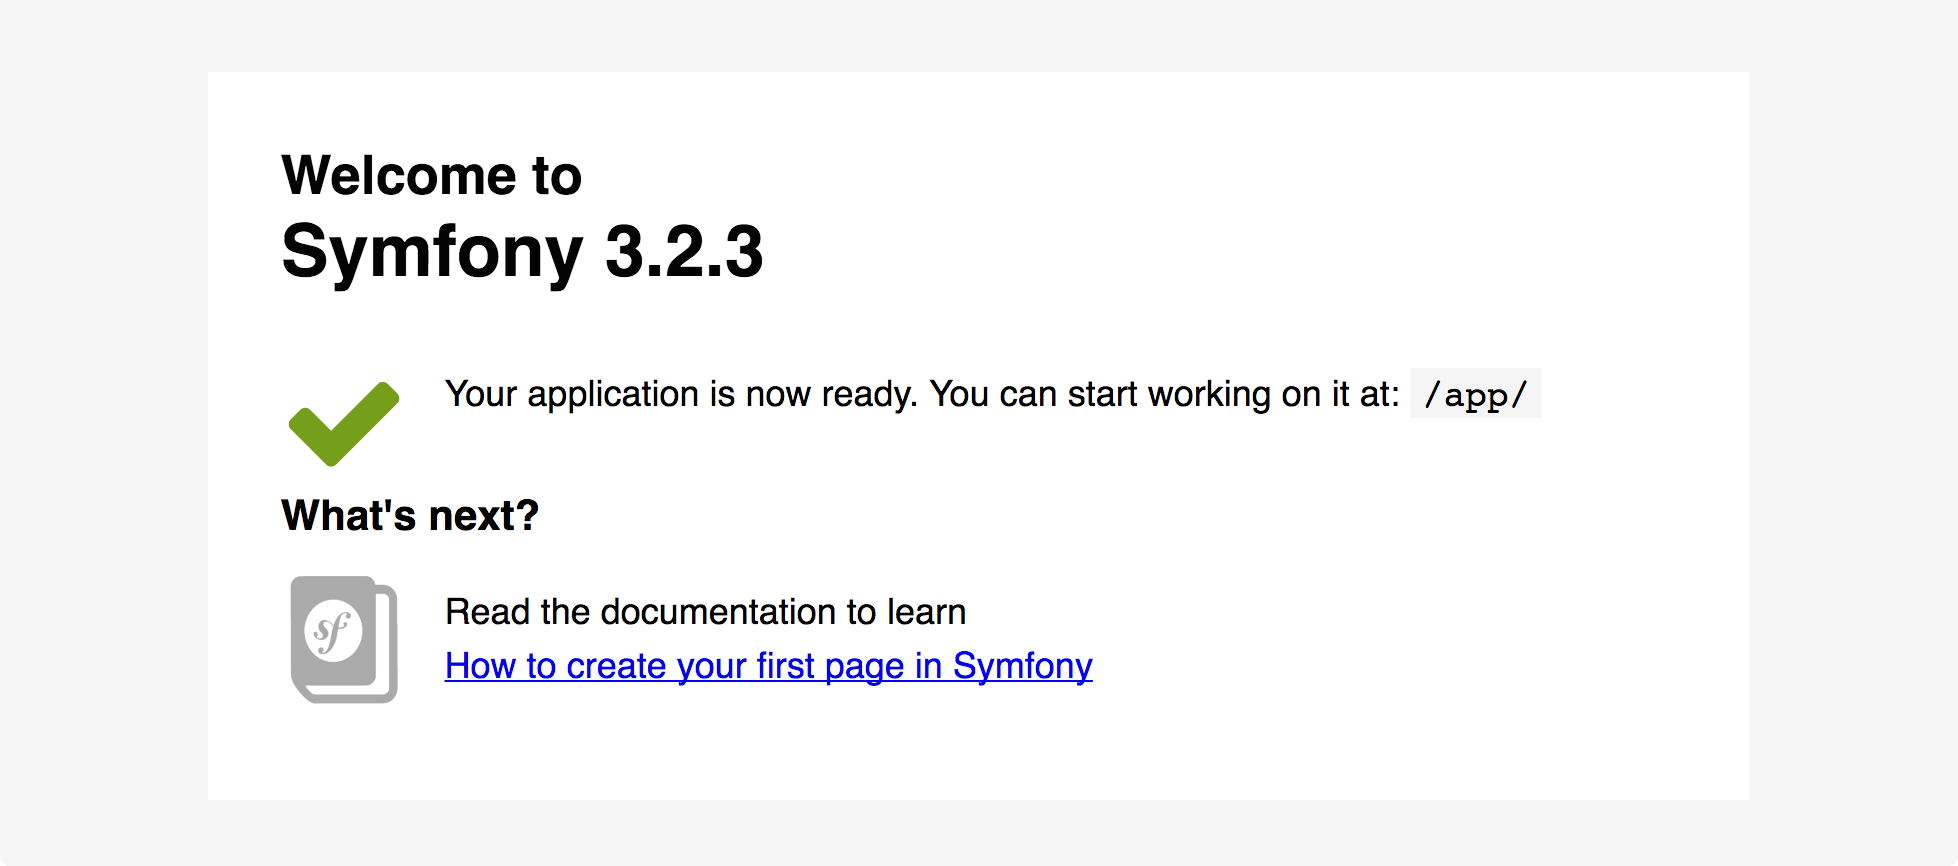
The default Symfony installation page should be served up (you may need to accept using the self-signed SSL cert):
Remote Development with ContinuousPipe
Install the Client
To use ContinuousPipe as a remote development environment you will need the cp-remote client, which is available on OSX, Linux and Windows. Please refer to the remote development installation instructions for each of the platforms.
Run Setup
cp-remote setup
You will now be asked a series of questions that relate to how you have configured ContinuousPipe and your cluster details. Please refer to the remote development setup instructions for more information.
Build the Remote Environment
To create the remote development environment run:
cp-remote build
This will force push the current commit you have checked out as the remote environment branch. So assuming you are still on the master branch and at the commit that successfully created an environment, this will be used to create your initial remote environment. You can rerun the cp-remote build command to rebuild the remote environment with whatever you have checked out at that point as needed. However, you should not need to do this frequently if you use cp-remote watch to sync changes to your remote environment as you make them (explained below).
Symfony Modes
Note
ContinuousPipe environments are different from Symfony environments. The former refers to a ContinuousPipe deployment target associated with a cluster and a branch, whereas the latter refer to a Symfony application state. To avoid confusion Symfony “environments” are referred to here as “modes”.
Currently, the application is using the Symfony production mode, which is not suitable for development purposes. To enable Symfony development mode for the ContinuousPipe remote environment you can use ContinuousPipe pipelines. Edit the continuous-pipe.yml file to be as follows:
continuous-pipe.yml
variables:
    - name: SYMFONY_ENV
      value: prod

tasks:
    images:
        build:
            services:
                web:
                    image: ${IMAGE_NAME}
                    naming_strategy: sha1
    deployment:
        deploy:
            cluster: ${CLUSTER}
            environment:
                name: '"sfdemo-" ~ code_reference.branch'
            services:
                web:
                    specification:
                        accessibility:
                            from_external: true
                        environment_variables:
                            - name: SYMFONY_ENV
                              value: ${SYMFONY_ENV}

pipelines:
    - name: Production
      condition: 'code_reference.branch in ["master"]'
      tasks: [ images, deployment ]
    - name: Remote
      condition: 'code_reference.branch matches "/^cpdev/"'
      tasks: [ images, deployment ]
      variables:
          - name: SYMFONY_ENV
            value: dev
This adds two different pipelines which use conditions to determine which pipeline is used. In this case it checks if the branch starts with “cpdev” - if it does then the Remote pipeline is used. If the branch is “master” then the Production pipeline is used. If the branch does not match either of those conditions, the tide will fail. You could use this to run different tasks but here the same tasks are run but variables have different values set.
The YAML variable being used is named SYMFONY_ENV which is declared and initialised to “prod” at the top of the file. It stays as “prod” for the Production pipeline but is set to “dev” for remote environments.
The SYMFONY_ENV YAML variable only has scope in ContinuousPipe whilst running the tasks - it is actually the environment_variables section for the service that is used to set SYMFONY_ENV as an environment variable on the service.
Front Controller Changes
Symfony uses the SYMFONY_ENV environment variable to set the environment when running console commands but does not use it in the front controller, so you will need to make some changes to that file.
Edit the web/app.php file in the repository to be as follows:
web/app.php
<?php

use Symfony\Component\HttpFoundation\Request;
use Symfony\Component\Debug\Debug;

$environment = getenv('SYMFONY_ENV');
if ($environment === false) {
    $environment = 'prod';
}

if (($useDebugging = getenv('SYMFONY_DEBUG')) === false || $useDebugging === '') {
    $useDebugging = $environment === 'dev';
}

/** @var \Composer\Autoload\ClassLoader $loader */
$loader = require __DIR__.'/../app/autoload.php';

if (!$useDebugging) {
    include_once __DIR__ . '/../var/bootstrap.php.cache';
}

require_once __DIR__ . '/../app/AppKernel.php';

if ($useDebugging) {
    Debug::enable();
}

$kernel = new AppKernel($environment, $useDebugging);

// we don't want to use the classes cache if we are in a debug session
if (!$useDebugging) {
    $kernel->loadClassCache();
}


// When using the HttpCache, you need to call the method in your front controller instead of relying on the configuration parameter
//Request::enableHttpMethodParameterOverride();
$request = Request::createFromGlobals();
$response = $kernel->handle($request);
$response->send();
$kernel->terminate($request, $response);
These changes will mean that the SYMFONY_ENV environment variable will be used to decide which Symfony application mode is used. You can also use a SYMFONY_DEBUG environment variable to turn debug more on and off, if not set then it will be on for development mode and off for production mode.
Rebuild the Remote Environment
To rebuild the remote environment with these changes, commit them to master and run cp-remote build - this will establish the Production pipeline. You can now switch to a branch prefixed with “cpdev” and run cp-remote build again to establish the Remote pipeline. You will then see the two new pipelines on the overview page in the ContinuousPipe console.

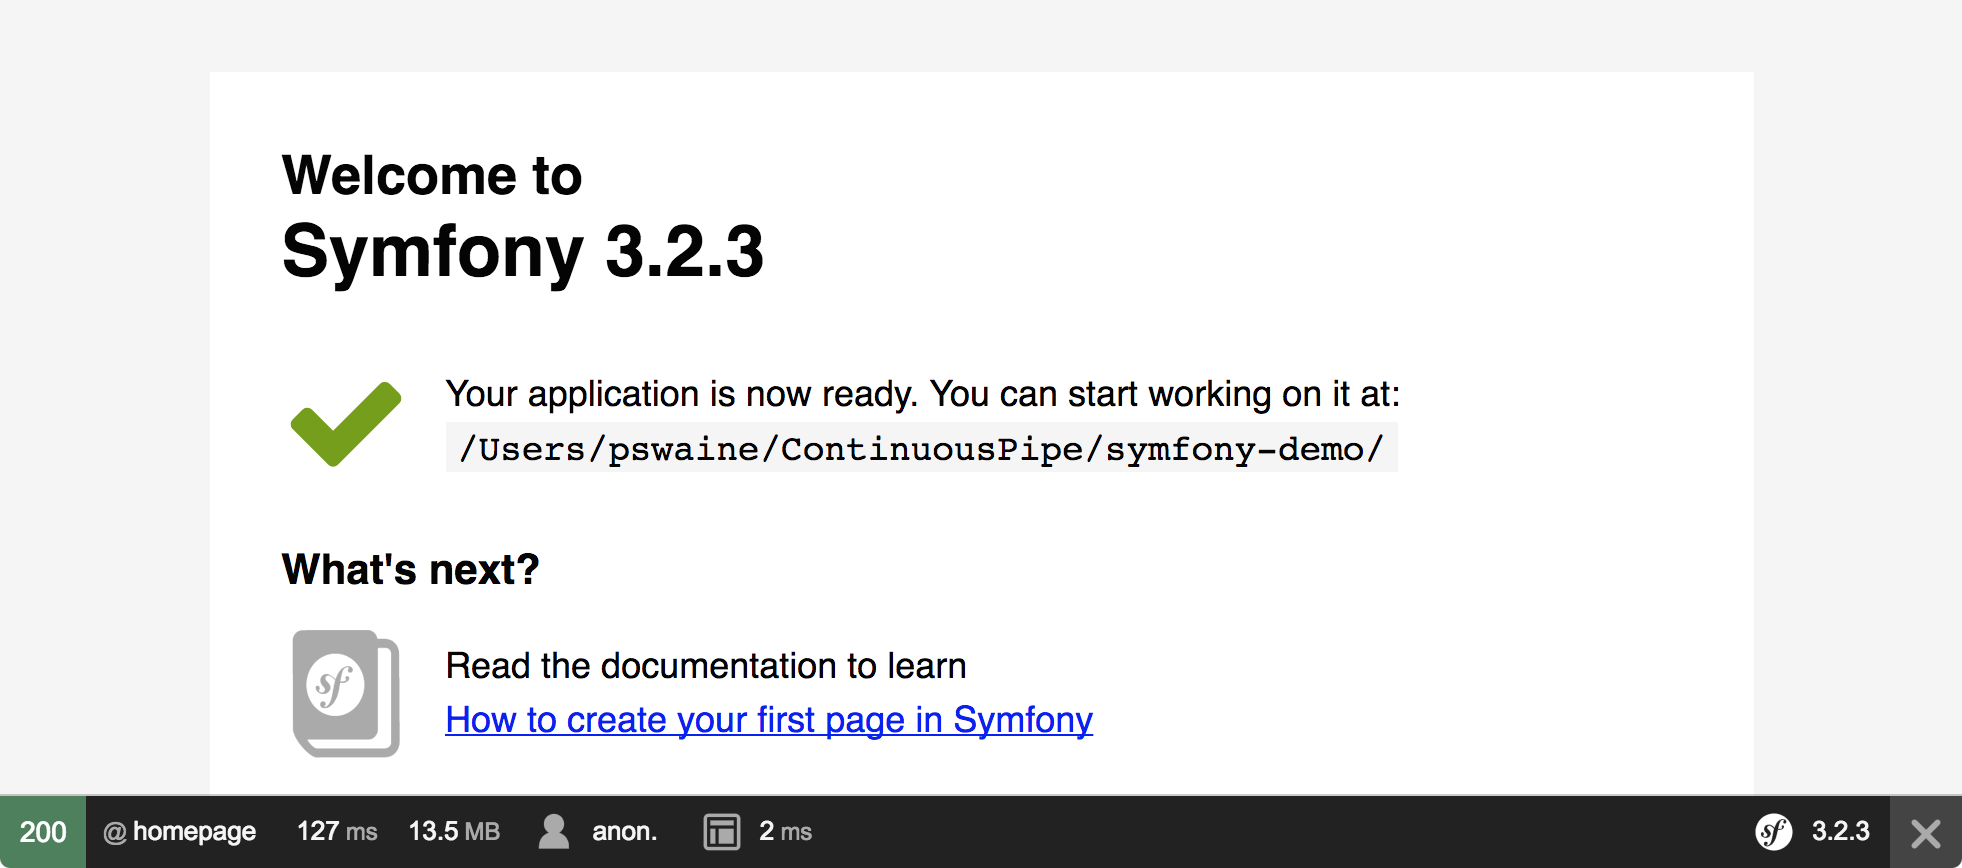
If you now load the Remote pipeline endpoint in the browser you should see the Symfony toolbar at the bottom of the page indicating that it is in development mode.
Start Development
To start development run:
cp-remote watch
You can now make changes and they will be synced to the remote environment where you should be able to see the result.